Unleashing your inner artist has never been easier, thanks to the world of DIY paint projects. They’re a fantastic way to express creativity, add a personal touch to your home, and even unwind after a long day. But where should you start?
Whether you’re a seasoned DIYer or a novice looking to dip your brush into something new, this article is your go-to guide. From the basics of choosing the right paint to step-by-step instructions for unique projects, we’ve got you covered. So, let’s roll up our sleeves and dive into the colourful world of DIY paint projects.
Diy Paint Projects
Driven by the appeal of personalization and the growing trend of home improvement, DIY paint projects have seen a remarkable surge. Amplified by increased access to resources and instructional guides, the popularity is now undeniable.
Benefits of Choosing DIY Over Professional Services
Opting for DIY over professional services offers several distinct advantages. First, cost savings can be significant, as it eliminates labour charges. Second, the sense of achievement that comes with completing a project independently builds satisfaction. Flexibility, too, plays a part, as homeowners have full reins over their project timelines, designs, and materials. Finally, DIY paint projects allow customization on a level that’s typically impossible when hiring professionals. For instance, it becomes straightforward to experiment with different colour schemes on a piece of furniture or a wall section.
The Best Paint Types for DIY Projects
When it comes to successful DIY paint projects, the choice of paint plays an undeniable role. Acrylic craft paint, renowned for its versatility, enables a broad range of projects. Latex paint, quick drying and easy to clean, is often the go-to for larger surfaces such as walls. Chalk paint, with its velvety matte finish, often finds its way onto furniture restorations.
After understanding the various types of paint suitable for diverse DIY projects, the next logical step in unleashing your creativity is careful project planning. Key elements in this phase encompass selecting the right colours and collecting necessary tools and materials.
Selecting the Right Colours
Determining the right colours often acts as the most critical aspect of a DIY paint project. It dramatically influences the final visual outcome and ambience of the space. Predominantly, colour selection hinges on three factors: personal aesthetics, functionality of the space, and the psychological impact of colors.Functionality, as another determinant, sees the use of wipeable semi-gloss paint in high-traffic areas given its durability. Lastly, understanding the psychological impact of colours, such as blue’s calming effect or red’s energising influence can help create the intended mood or ambience.
Required Tools and Materials
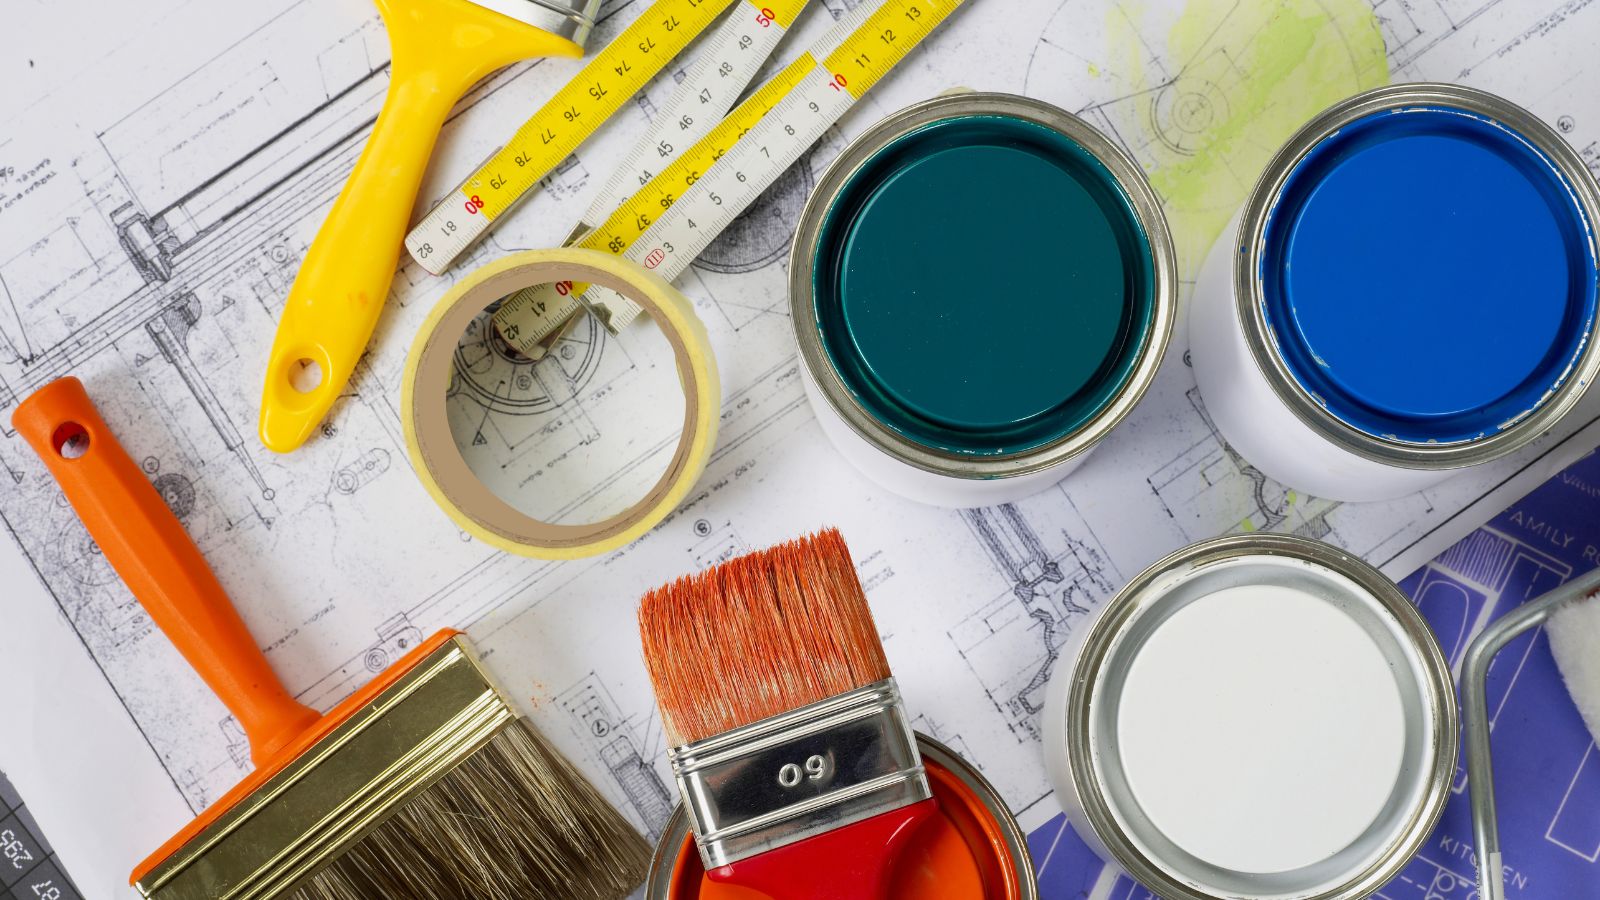
Thorough preparation ensures a seamless painting process, requiring a collection of essential tools and materials beforehand. The selection differs depending on the project’s complexity, surface type, and the paint being used.
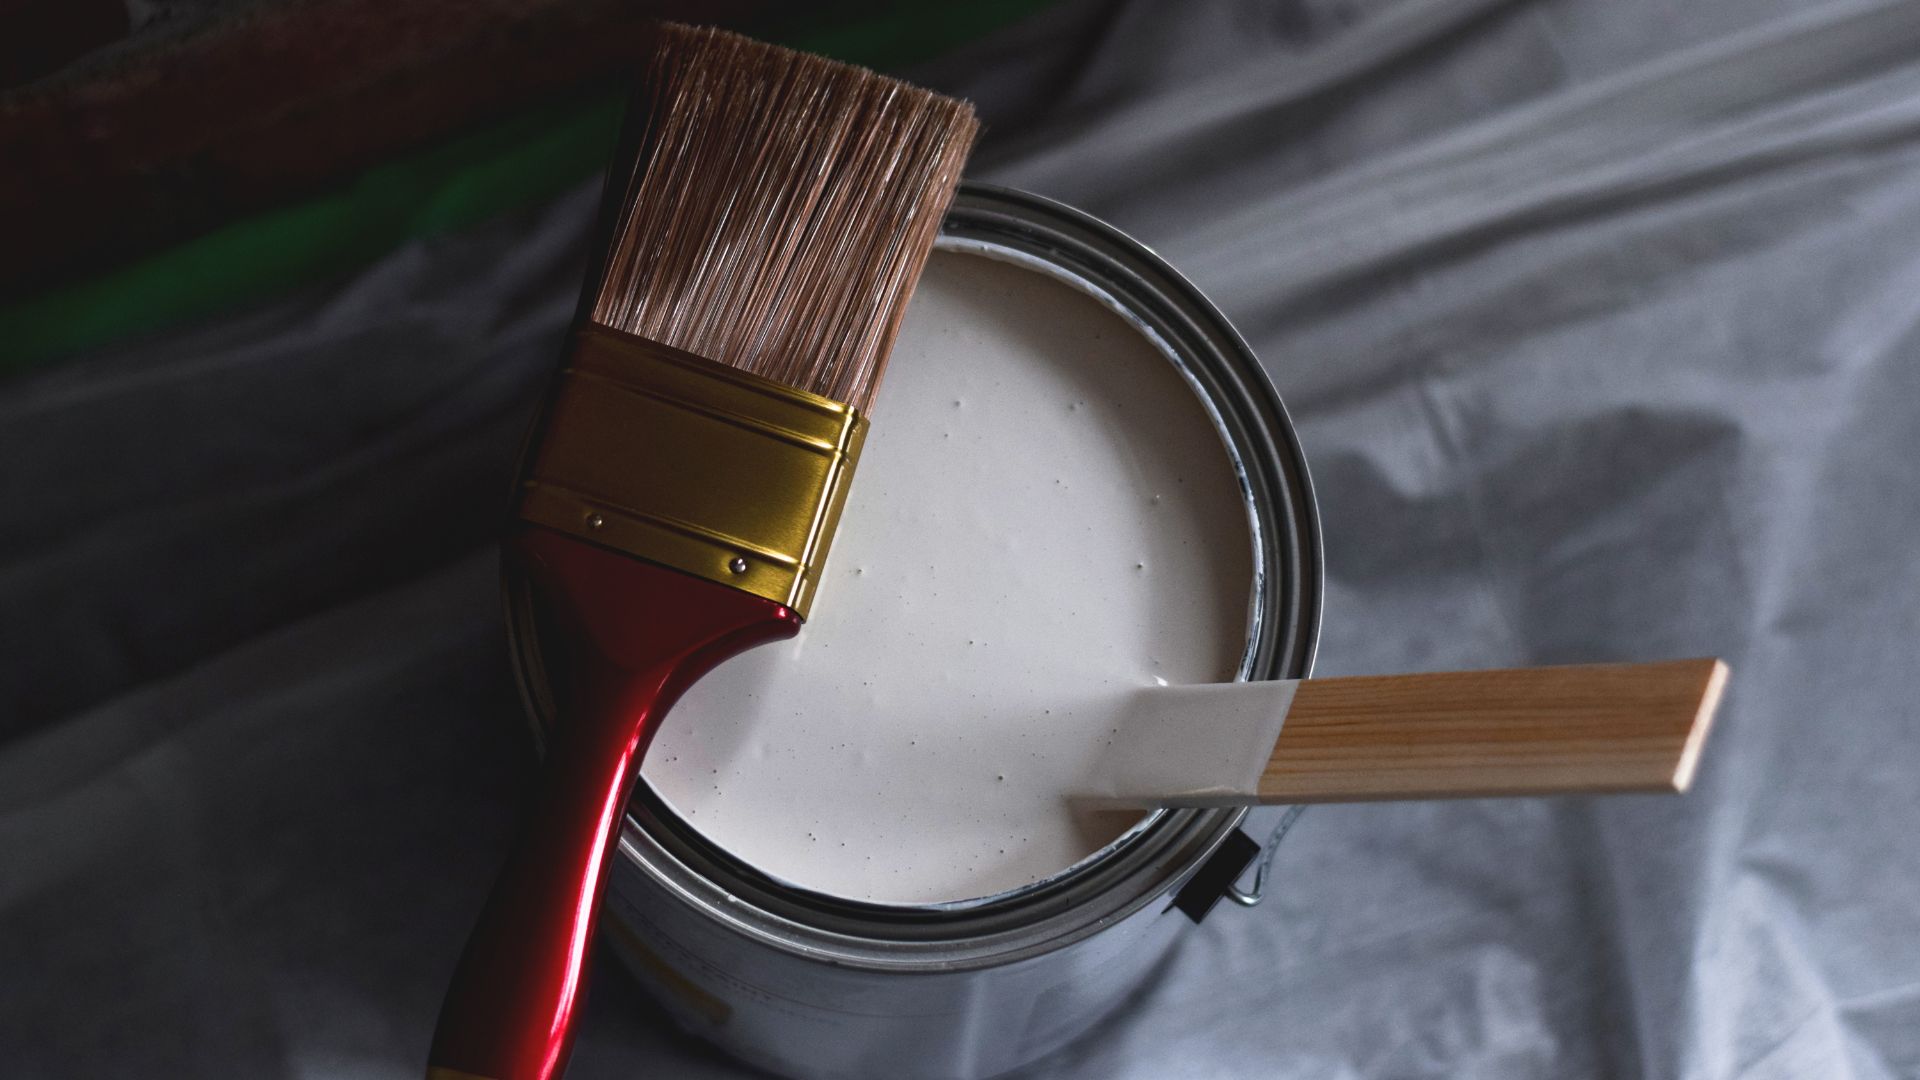
For a basic paint project, one typically needs paint brushes for applying the paint, rollers for larger surface areas, and a paint tray for holding the paint. Additionally, paint thinner proves useful for oil-based paints whereas water suffices for acrylic paints.
Embarking on a DIY painting project goes further than simply picking up a brush. It incorporates preparation of your space, knowing the appropriate painting techniques and utilising the right tools. This guide takes you step-by-step through the process to achieve a professional finish.
Preparing Your Space
Space preparation forms a crucial part of DIY painting, reducing the chances of unnecessary stains and ensuring a smooth application. Primarily, you’ll want to remove or cover the furniture, appliances, and other objects in the room. The use of drop cloths, whether they’re plastic or canvas, can offer protection against paint drips and spills.
Next, the walls need preparation. Cleaning with a sponge and mild detergent removes dirt and grease, preventing them from mixing with the paint. For smooth paint application, surface blemishes and holes require a patching compound. Once dry, sanding these patched areas with fine-grit sandpaper creates an even surface.